Table of Contents
Webflow just over a year ago introduced the possibility of creating a multilingual site.
Webflow is a program to create Web sites drag-and-drop that makes it easy to design professional-looking sites without being a Web programmer. In an increasingly mobile-friendly world, Webflow has made it easier than ever to create sites suitable for viewing on mobile devices. Building responsive sites on Webflow is dead simple.
However, unless you are willing to opt for a paid version or rely on third-party tools, the process of translating a Webflow site into other languages is not as straightforward.
How is it possible that this system, launched in 2013, took so long to release a paid version and forced web designers to resort to stratagems to design a site in multiple languages?
I guess it’s simply a matter of numbers: most Webflow users don't need a site in multiple languages and so Webflow didn't care that much.
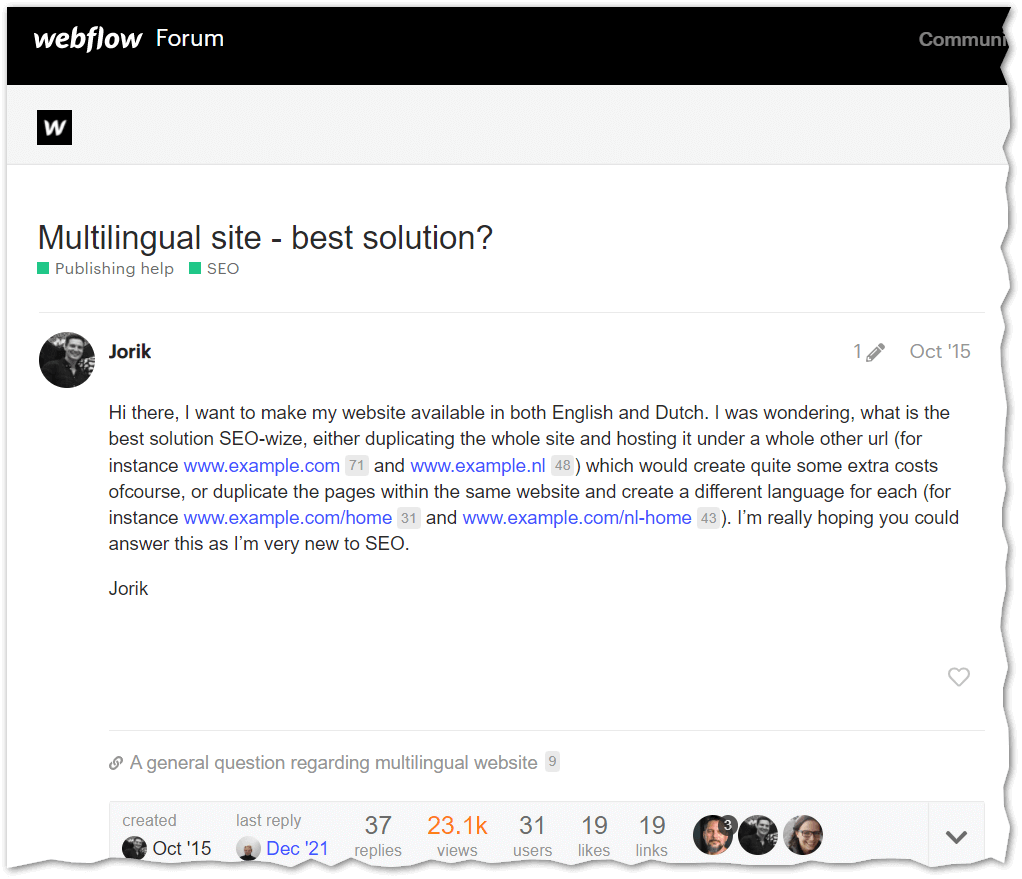
You can see proof of this on the official Webflow forum: a thread started in 2015 asking for the best solution for a multilingual site did not receive a possible solution until 2022.
So, Webflow has introduced a method for translating sites that wants to limit wasted time. However, if you are now planning an overseas expansion and need a robust, flexible, and easy-to-update multilingual solution, you can also rely on other CMS designed to be multilingual, which in many cases will not force you to make the leaps and bounds often required in Webflow.
And if this article seems very similar to the one on Squarespace, well, the reason is that both systems have the same flaws when it comes to creating sites in multiple languages.
So, if you already have a site in Webflow and need to add one or more translated versions, you currently have 6 options:
- duplicate all pages, so that you have a home page linked to the different sections of the site in each language, with a drop-down menu for each language;
- duplicate the site, creating a different site for each language and linking them together;
- use an external plugin;
- create a multilingual site with the Localization feature;
- creating a multilingual site with Polyflow;
- add custom JavaScript code.
Ideally, you should choose the method that suits you before you start creating the site, because the site page structure depends on the method you choose.
Method 1: duplicate all pages
One way to apply this method is to duplicate all pages and then translate them. If you're using collections (the so-called "CMS" feature in Webflow), you have to separate the fields for each language in the same collection.
For example, if you have news in 3 languages, you will need to add the content in the 3 languages within the same page. Then you need to set anchor links to show and hide the content in different languages according to the language.
Another downside is that you need to configure language choice buttons on each page.
This method is advisable only if:
- the site to be translated consists of few pages, because you have to create a translated page for each original page;
- the site is to be translated into a limited number of languages.
With this system you can translate the user-generated content, but all system messages, for example the dates in the blog pages, will be displayed in a single language despite the rest of the page.
Note: if you update a page in your home language, remember to edit the respective translations as well. There is no way to export text beyond copy-pasting, so you will have to make changes directly from the Webflow administration interface.
Method 2: duplicate different sites linked together
The second method is to create separate sites and then link them together.
This solution has the advantage of being able to have different menus and content between languages, but it also means that the sites are disconnected from each other unless you link them together with external links, for example through a landing page.
Also consider that having separate sites means paying a license for each site.
Method 3: use of an external plugin
External plug-ins can also be used to translate a Webflow site, most of which are based on translation proxy systems. Some of these are:
- WeGlot;
- Bablic;
- Easyling.
These systems have many advantages. In the case of Webflow in particular, these systems allow content to be accessed and translated regardless of the Webflow interface. Often this is done by adding a special JavaScript fragment in the code of the pages.
All translation proxies give the user their own administration panel from which one can review texts, translate them automatically or by hand, and, in the best case, export them for convenient offline translation or send them to one’s translation provider of choice.
However, using a translation proxy entails a penalty from the SEO point of view, as the pages are dynamically translated by the proxy, but do not exist per se.
Providers offer a range of solutions to this problem, some more complex than others. Almost all of them go through DNS configuration, a process that may not be within everyone’s reach.
The process usually involves creating a DNS record for each translated language, plus another record to link the site to the translation technology provider.
Method 4: create a multilingual site with Localization
Webflow released the first version of Localization in 2022. It is a translation tool running directly on Webflow, so the work is not delegated to a third party. Here you don't just change a site from one language to another, but you create a version where you can customize all the content so that users can experience using a site tailored to their local, i.e., language and country combination.
The function can be used to translate not only text (including the navigation menu) and images, but also page settings.
Localization involves choosing a primary local and a secondary local that will inherit all its contents. In this way, Webflow will automatically create a URL structure that differs from the primary one by the presence of the country code of the selected secondary local.
From the drop-down menu in the "Localization" section, you select the location needed, which you can then automatically translate through the tool. One can also simply click on any part of the content to translate it manually (this also applies to images), without changing the primary local, which remains unchanged.
However, any changes made to the primary local will not cause changes in the secondary if it has already been translated.
Localization is available at an additional cost to the Webflow subscription, although there is a free, albeit very limited, version.
Method 5: create a multilingual site with Polyflow
Another method for localizing a site created with Webflow involves the use of Polyflow, which is a specialized translation tool that allows pages to be translated into more than 120 languages.
This is a Google Chrome extension connected to the Webflow account, which binds the current project(s).
Once the account is synchronized, Polyflow directs you to the project giving you the ability to see the page structure and individual items available for translation, as well as the options and language choice for translation.
During the translation phase, this tool divides the translatable elements of the page into three sections:
- "Pages;
- "CMS Collections;
- "Symbols.
Here there is a "+ Add Alternative " button that allows you to add the respective translation for each individual item.
When the end of the translation phase is reached, Polyflow generates a URL for each language so that users can change the language of preference.
This feature is offered for a fee in two "Business" versions, which differ mainly in the amount of pages translated, i.e., a maximum of 500 per month or unlimited.
Of course, when it comes to translation tools that facilitate and speed up productivity and save time, you always have to consider price. Each project site translated through Polyflow has a separate cost for each translation language employed, also leading to a considerable increase in costs.
Method 6: embedding custom JavaScript and CSS
The fourth method involves entering a custom code. This is what gives the best results, both in terms of user experience and SEO.
Since content is displayed in just one language at a time, users don’t have to navigate the multilingual menus, and instead find what they’re looking for immediately.
And compared to the other methods, there is a page in each language for each piece of original content, so Google is able to index all pages.
However, to use this method you need to:
- be familiar with the JavaScript language;
- be familiar with the CSS language.
An approach to this method, along with code to insert and detailed instructions, can be found at multilingual.webflow.io.
Conclusion
Having a Webflow site in multiple languages is not exactly a walk in the park. The advantages and disadvantages of each method need to be considered:
| Method | Advantages | Disadvantages | Recommended for ... |
|---|---|---|---|
| Duplication of pages | + Relatively easy to create + No other licenses needed |
- Suboptimal user experience - Cumbersome to keep updated |
Not very large sites Sites with few languages |
| Several interconnected sites | + Content independent of each other | - 1 license required for each site - User experience not optimal |
Large sites, with different content from each other |
| External Plugin | + Easy to set up | - Third-party solution, additional license - Possible SEO issues |
Legacy sites that need a quick fix |
| Using Localization | + Simpler user experience + Webflow’s own solution |
- Full paid version | Sites to be internationalized with images |
| Using Polyflow | + Better user experience | - Full paid version | Shorter sites |
| Embedded JavaScript | + Better user experience | - Technical skills required | Who knows JavaScript and CSS |
Above all, as mentioned above, if you still have time, evaluate other CMSs that simplify multilingual management.
If you need to translate your Webflow site, contact us and we will be happy to help you out.